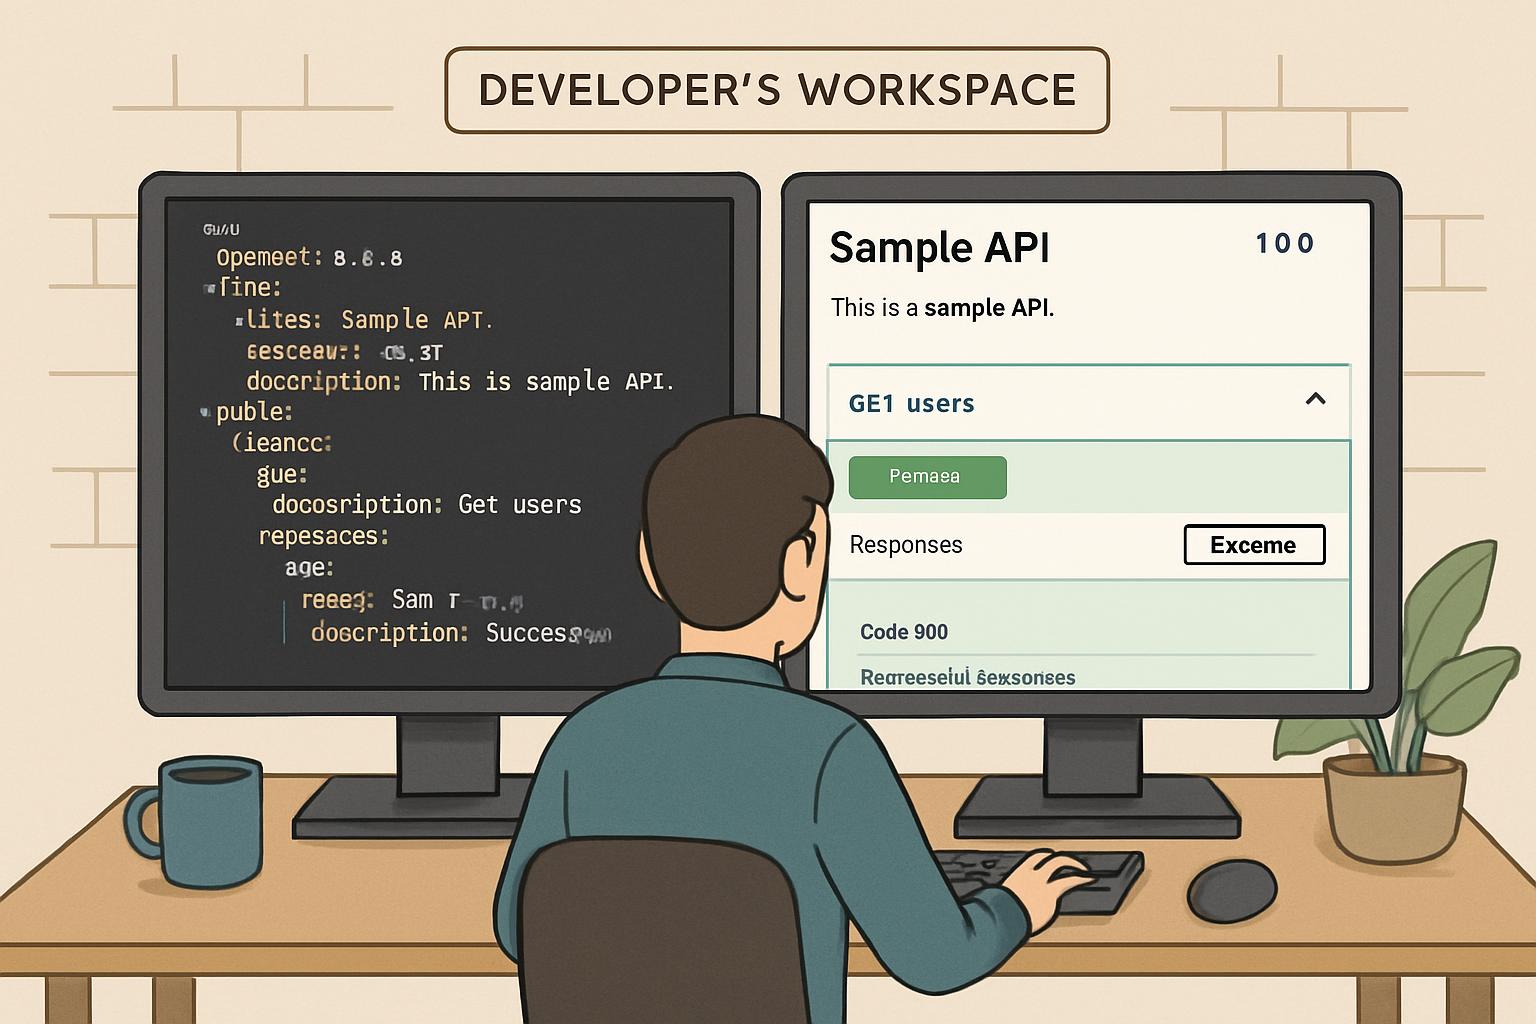
When building an MVP, delivering a reliable, well-documented API quickly can make or break your project's success. Many lean teams struggle with repetitive manual tasks—writing docs, generating clients, and wiring up tests—which slows down development and introduces inconsistencies.
OpenAPI solves these challenges by providing a standardized, machine-readable contract for your API. With OpenAPI, you can auto-generate documentation, server stubs, client SDKs, and even mock servers—accelerating your MVP development from day one.
In this guide, you'll learn how to integrate OpenAPI into your workflow with practical steps, code examples, and a checklist to ensure a smooth setup. Let’s dive in.
Benefits of Using OpenAPI in an MVP
OpenAPI brings several advantages for MVP projects:
- Clear API contract: A shared specification reduces misunderstandings between frontend and backend teams.
- Auto-generated documentation: Instantly provide interactive docs for clients and stakeholders via tools like Swagger UI or ReDoc.
- Client SDK generation: Generate language-specific SDKs to accelerate integration in mobile or frontend apps.
- Early validation: Use generated mock servers and schema validators to catch issues before code is written.
Practical Steps to Adopt OpenAPI
1. Define Your API Schema
Start by writing an OpenAPI file (YAML or JSON). Focus on core MVP endpoints such as /login, /users, and /orders. A minimal YAML example:
openapi: 3.0.1
info:
  title: "MVP API"
  version: "1.0.0"
paths:
  /users:
    get:
      summary: "List users"
      responses:
        '200':
          description: "OK"
2. Generate Server Stubs and Client SDKs
Use openapi-generator or Swagger Codegen:
openapi-generator generate \
  -i api.yaml \
  -g nodejs-express-server \
  -o server/
This creates a basic Express server you can customize. Similarly, generate a client:
openapi-generator generate \
  -i api.yaml \
  -g typescript-axios \
  -o client/
Example Workflow in a Node.js Project
- Install dependencies:
npm install openapi-generator-cli swagger-ui-express ajv. - Generate server stub:
npx openapi-generator-cli generate -i api.yaml -g nodejs-express-server -o src/server. - Wire up Swagger UI:
const swaggerUi = require('swagger-ui-express'); const apiSpec = require('./api.yaml'); app.use('/docs', swaggerUi.serve, swaggerUi.setup(apiSpec)); - Validate requests with ajv:
const Ajv = require('ajv'); const ajv = new Ajv(); const validate = ajv.compile(require('./schema.json')); app.post('/orders', (req, res, next) => { if (!validate(req.body)) { return res.status(400).json({ errors: validate.errors }); } next(); }); - Add CI validation:
"scripts": { "validate-api": "swagger-cli validate api.yaml" }.
Weighing Trade-offs and Common Mistakes
- Over-specification: Defining too many fields for an MVP can slow you down. Stick to essential endpoints first.
- Ignoring versioning: Even early MVPs benefit from a versioned
info.versionto avoid breaking clients. - Schema drift: Manual edits to generated code can diverge from the spec. Always treat the OpenAPI file as the single source of truth.
- Neglecting error responses: Define error codes and response schemas to ensure consistent client handling.
Checklist: Integrating OpenAPI into Your Workflow
- Write a minimal OpenAPI schema for core endpoints.
- Generate server and client code with
openapi-generator. - Set up continuous integration to validate the schema (
swagger-cli validate). - Publish interactive docs with Swagger UI or ReDoc.
- Use mock servers (e.g., Prism) so frontend dev can proceed before backend is ready.
By adopting OpenAPI for your API-first MVP, you'll reduce miscommunication, accelerate development, and deliver a more robust product to your users. Ready to launch an API-driven MVP? Explore my MVP services or get ongoing support to modernize & scale your platform.